


Cinema 4D Modeling and Animation
[C4D] Fitting cloth garments to a character
Step 2: Enable the Knife tool. Make sure the Mode for the Knife tool is set to Line
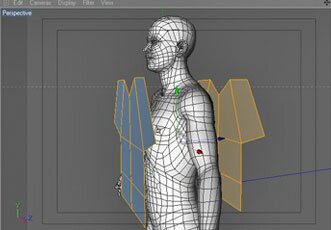
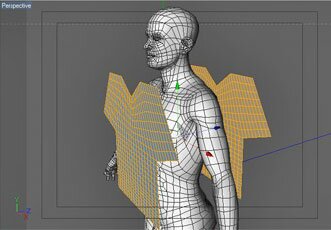
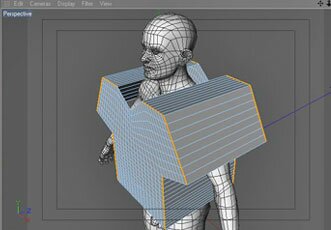
Step 3: Go to Structure>Clone. Once you hit the Apply button, you probably wont see any change happen on the screen. However, there is a clone of the polygon made, so while youre still in Polygon Tool mode, switch to the move tool and simply move the object behind the model and make sure that it doesnt collide with that model
Step 4: Now, hit Ctrl+A on your keyboard, and go to Functions>Subdivide. Use a Subdivision value of 2 or 3
Step 5: Switch to Edge Tool mode. With the Live Selection Tool activated, go to Selection>Loop selection and click on the outer edge of the polygon, de select areas such as the nick, arm holes, and bottom of the cloth
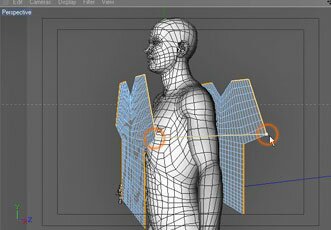
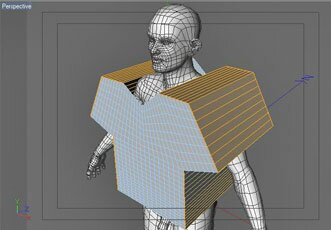
Step 6: You now need to create the geometry for the seams. Activate the Stitch and Sew tool (Structure=>Stitch and Sew). While holding the Shift modifier, click and drag from one edge selection to the corresponding selection on the opposite panel
Step 7: Select the seam you just created. You can use the Selection>Loop Selection function which will make it much faster:
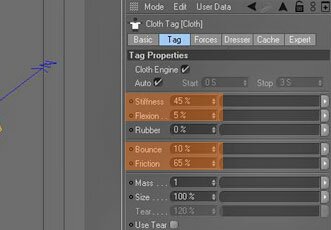
Step 8: Add a Cloth tag to the polygon object (File >Clothilde Tags >Cloth). In the Attributes Manager change the settings of the Cloth tag to match those shown in the image
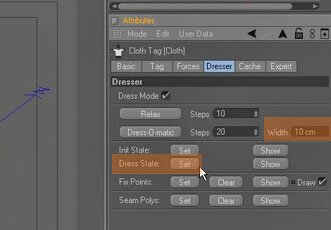
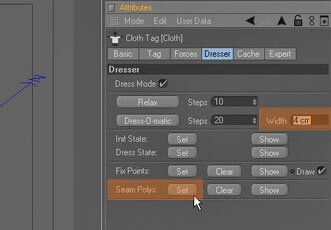
Step 9: In the Dresser tab Set the Dress State using the button provided
Step 10: Now Set the Seam Polys for the garment
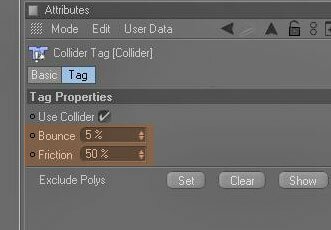
Step 11: Select the object that contains the characters geometry and apply a Collider tag (File >Clothilde Tags >Collider). Match the settings found within the Collider tag with the image shown
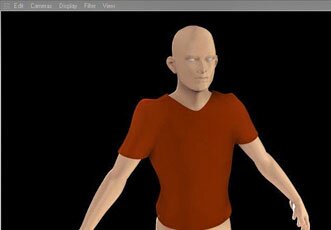
Final result
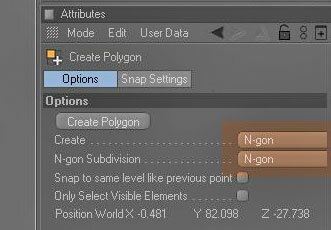
Make sure that in the Attributes Manager both Create and N-gon Subdivision are set to N-gon.
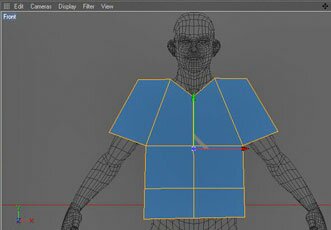
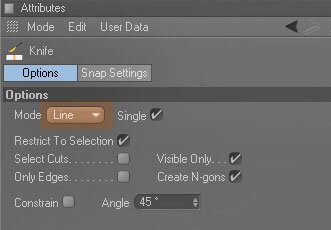
Now distribute cuts evenly throughout the panel. Try to maintain a quadrangle topology as much as possible
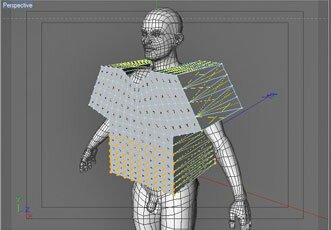
Step 12: Go into Point Tool mode, and select the bottom area of the model with the image shown
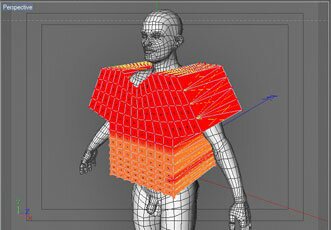
Step 13: Go up to Selections>Set Vertex Map and put in these settings
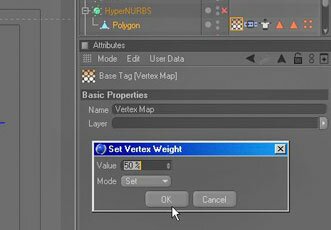
and put in these settings
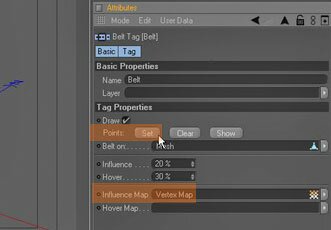
Step 14: Click on the Belt Tag, and click on the Points: Set button, and drag the vertex map you created in Step 13 into the Influence Map box.
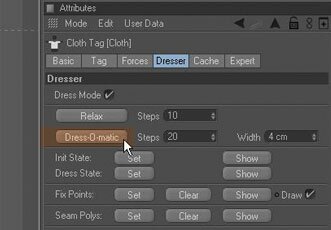
Step 15: Click on the Cloth tag, and click on the Dress-0-matic button
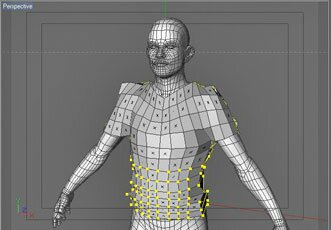
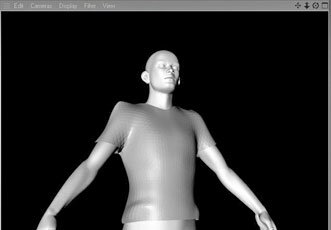
Once the Dress-o-Matic is complete, click on the Init State button. Your model should look like this
Support for JAG4D
with Clothilde many properties of cloth can be influenced by a vertex map
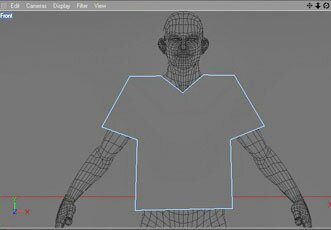
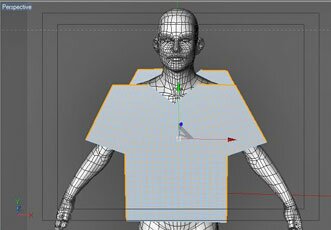
Step 1: Go to Objects>Polygon Object and switch to the front view. Make sure youre in the Point Tool and go to Structure>Create Polygon. Make a polygon like the image below
Tips n Technique 2
table of contens
table of contens


