


Cinema 4D Modeling and Animation

[C4D] Studio Lighting
Step 2. Add points untill you get spline like on the picture below
Step 3. Now select the spline and hit alt +hold down left mouse dragging it, this should copy your spline and change name the spline copy by spline 2
Step 4. Add Loft NURBS object and select all the spline by click + dragging it and dropping it over the Loft NURBS object
Final result
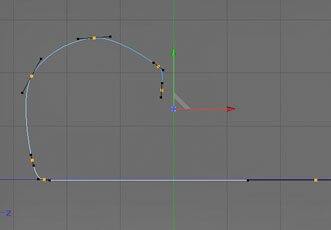
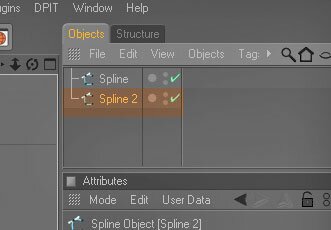
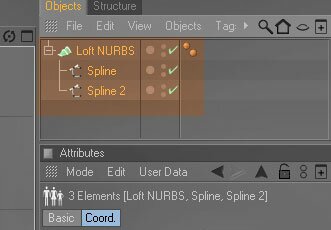
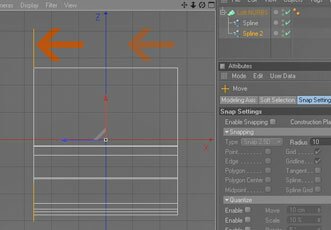
Step 5. Now select the spline 2 object, with the spline 2 selected switch to Modeling layout and switch to Top view, movement by the X axis direction like shown on pictures
Step 6. Placing the lights
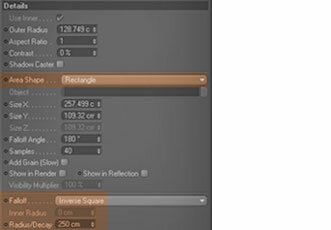
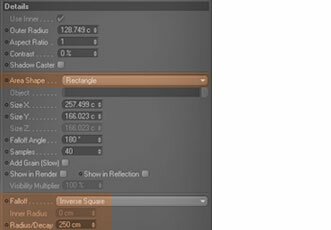
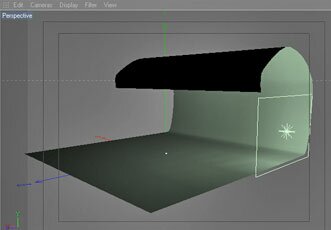
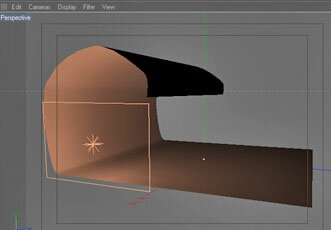
In this studio you will use 3 area lights. They will be placed from both side of your model and one will be placed above your model. Go to Objects - Scene - Area light and create 3 area lights. Name them Area right, Area Left, and Area top.
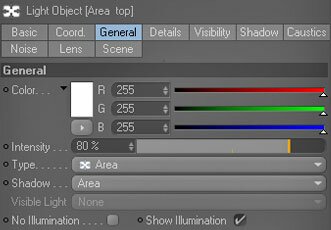
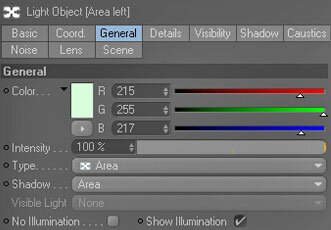
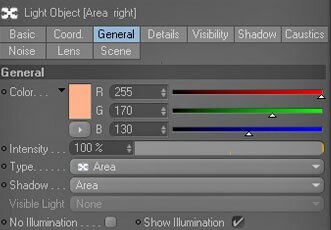
Place your light like shown on pictures below, and adjust lights settings like shown on picture
Light object (Area Top)
Light object (Area Left)
Light object (Area Right)
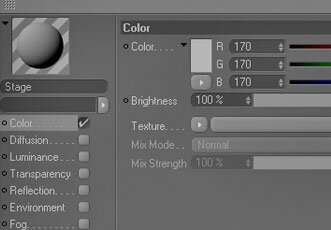
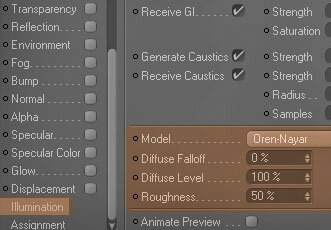
Step 7. The settings for Stage object material
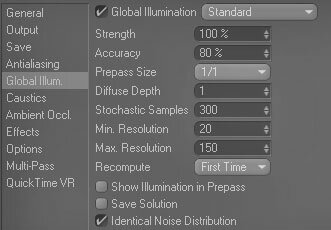
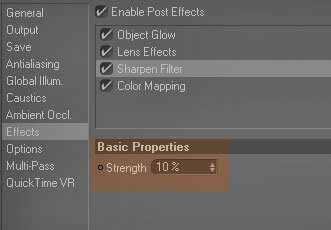
Step 8. Render settings
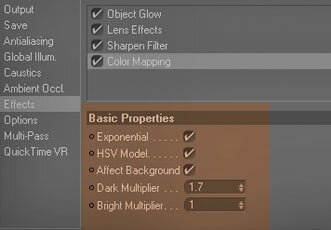
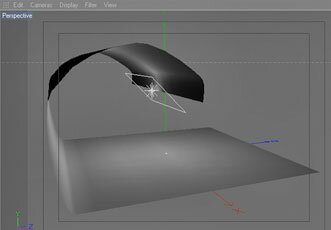
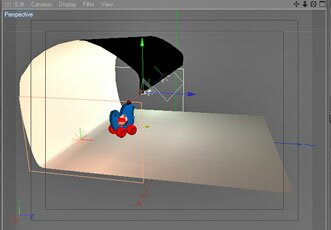
Step 9. If you done everything right you should have scene like shown below,

Support for
JAG4D.COM
JAG4D.COM
This tutorial shows how to set up real studio environment in Cinema 4d, it can be used for presenting objects (or as a interior lighting setup), with Advanced render.
Making the stage
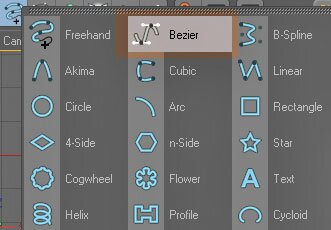
Step 1. Create freehand spline by hitting this button
Tips n Technique 2
table of contens
table of contens


